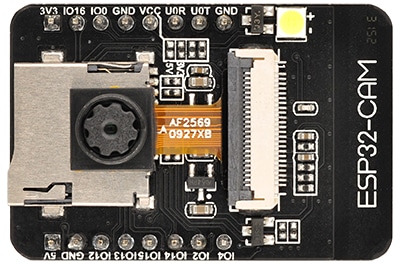
Time-lapse photography combines a series of photos taken at fixed intervals to reveal subtle changes and dynamic natural processes. We use the ESP32-CAM (Ai-Thinker) module to create time-lapse videos. If you want to implement timed capture and save photos to the SD card by programming, some understanding of ESP32 programming is required. You can refer to the introductory tutorial: Programming ESP32 Camera Using Arduino IDE 2.0.
As an alternative, we choose a simple method that requires no programming: using the Node-Camera firmware (Online Installation). The Node-Camera User Manual provides details on the firmware features (Quick Start). Timed shooting only requires a few simple settings:
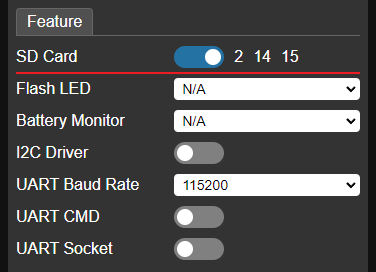
1. In the Feature tab of the Settings page, enable SD card support.
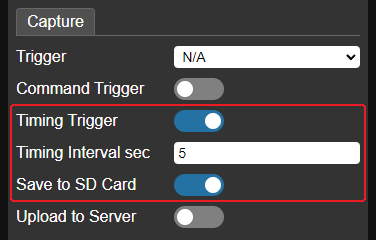
2. In the Capture tab, enable Time Trigger, set the interval (e.g., 5 seconds), and enable the Save to SD Card option.
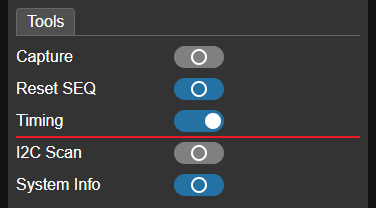
3. Save and restart to apply the settings. Then go to the Tools tab, enable the Timing option, and the firmware will start capturing photos at the set interval and saving them to the SD card. To stop capturing, simply disable Timing. You can view the photos on the SD card page.
After obtaining the photos, you need to assemble them into a video on your computer. You can remove the SD card, copy the photos to the computer, and use video editing software to combine them. There are many tutorials online for reference. We’ll use a method that may seem more complex at first but is actually simpler in practice, by running a script to automatically perform two tasks:
- Download all photos from the SD card via the Wi-Fi network (without removing the SD card).
- Combine the downloaded photos into a video.
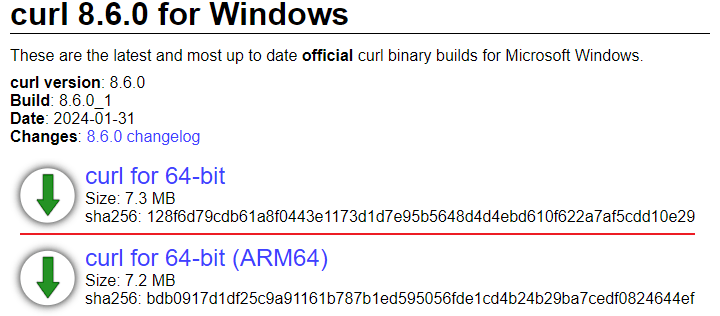
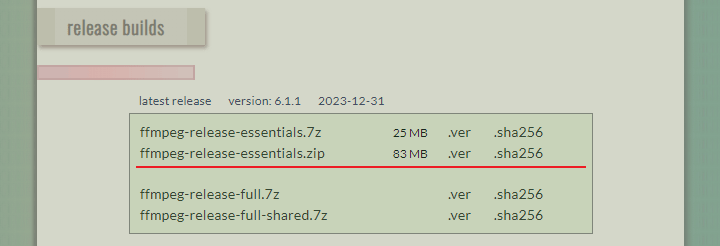
Scripting is a basic programming approach that allows you to automate tasks by invoking external tools. Our script will use two such tools: curl for downloading photos, and ffmpeg for combining the video. Neither of these tools needs to be installed, just extract the downloaded zip files to a specified directory.
curl download: https://curl.se/windows/
ffmpeg download: https://www.gyan.dev/ffmpeg/builds/
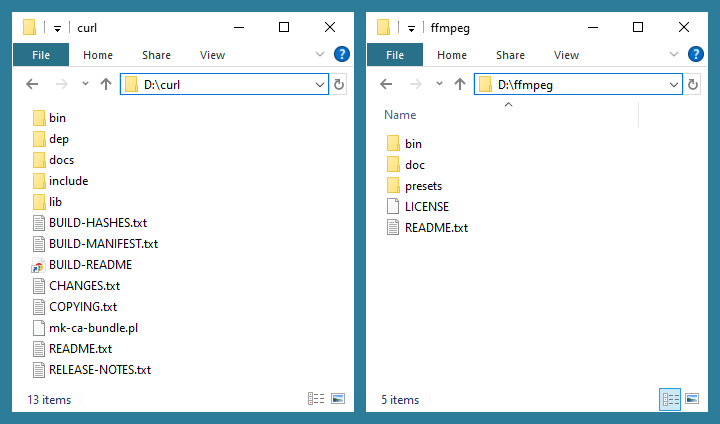
Assuming curl is extracted to D:\curl and ffmpeg is extracted to D:\ffmpeg, the directory structure is as follows:
To make the scripts work, add the paths of the executable files to the Windows Path environment variable.
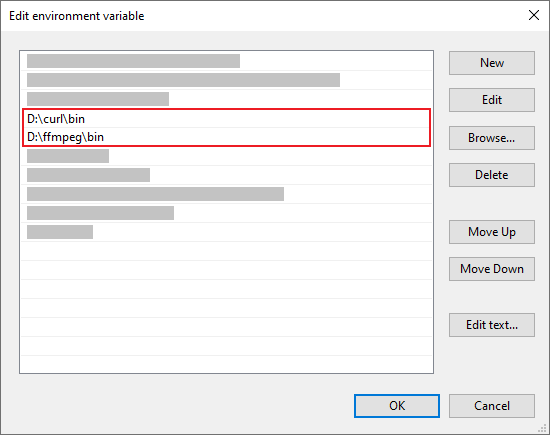
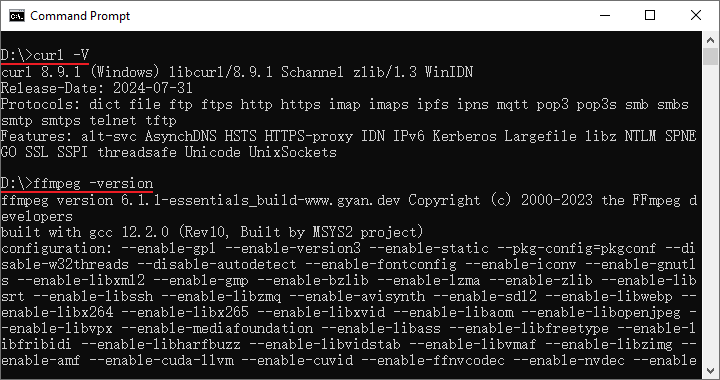
After updating the path, open a command line window and execute: curl -V and ffmpeg -version to check if they are properly set up.
The final script can be downloaded here. It’s recommended to extract it to a separate directory (e.g., D:\lapse). There are 3 script files:
lapse.cmd– Downloads photos and combines them into a video.download.cmd– Only downloads photos to the specified directory.order.cmd– Renames the photos with consecutive serial numbers based on their capture order. ffmpeg requires the file names of the photos used to create a video to have a continuous sequence. We may remove some unwanted photos, resulting in a non-sequential numbering. This script renames files into a sequence required by ffmpeg.
Before running the script, modify its variables to match your setup, including the actual IP address of Node-Camera, the directory for saving photos, and the output video file name.
@echo off
setlocal enabledelayedexpansion

:: Replace IP with the actual IP of Node-Camera
set "host=http://192.168.1.100"

:: Local directory to save downloaded photos
set "localpath=photos"

:: Output video file name
set "output=out.mp4"
...The script can be executed by command line or double-clicking. If no further processing is required, executing lapse.cmd will automatically download and combine the photos into a video. The following video is combined from 250 photos taken at 5-second intervals.
To ensure uniform color and brightness in the final video, maintain consistent white balance and exposure settings across all photos. It is recommended to turn off the automatic white balance (AWB) or select a fixed mode in the Node-Camera camera settings, turn off the automatic exposure (AEC), and set the exposure according to the ambient brightness.
Before starting capture, it is recommended to reset the file name sequence number (Reset SEQ) in the Tools tab of the settings page, so that the photos are named sequentially starting from
IMG_0000.JPG, which is convenient for photo management.
You can also first execute download.cmd to download the photos from the SD card to the local directory, further process the photos, then execute order.cmd to serialize the file names, and then use ffmpeg to create a video from the command line:
ffmpeg -framerate 24 -i "photos\IMG_%04d.JPG" -c:v libx264 -pix_fmt yuv420p out.mp4Finally, the script files are well-commented, making them easy to customize or extend for your own use. Good luck with your time-lapse project!